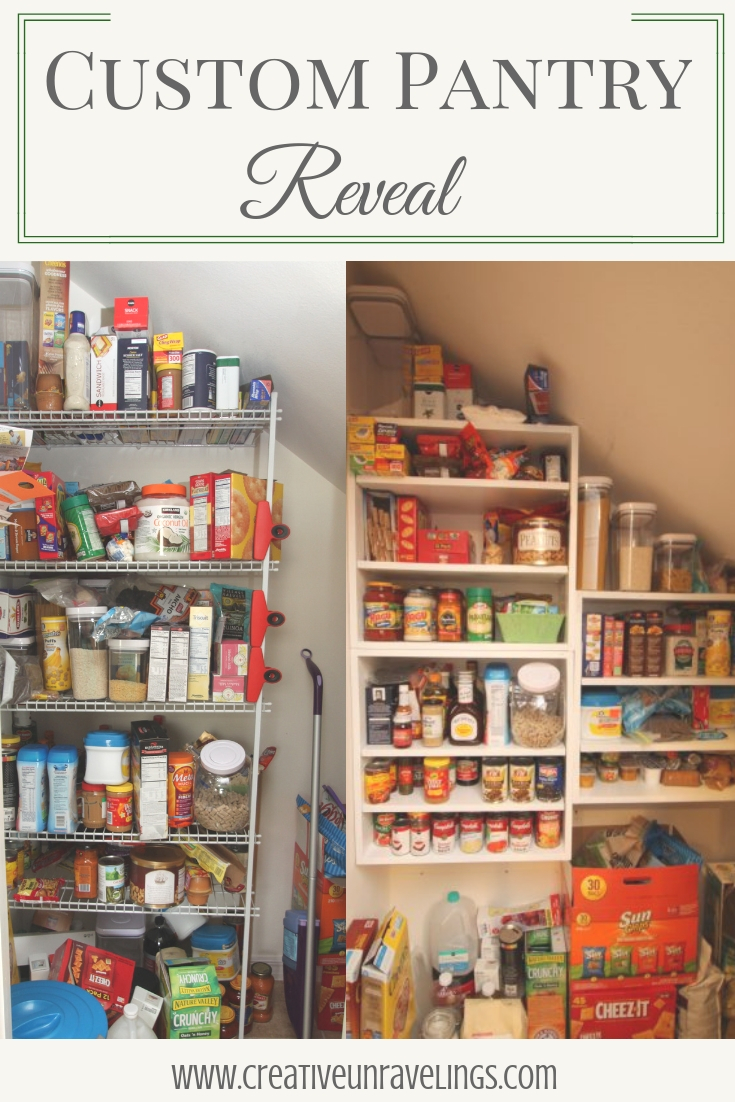
 So this is it, what was suppose to take us about a month, turned into a summer project. This project has been on our to do list for quite sometime. I tried to take as many pictures during the process. This was our first "big" project since baby, my husband did 80% of this project by himself, while I did the 20% which was painting. But in between many baby naps, we finally completed the project and we are so happy with the way it turned out.
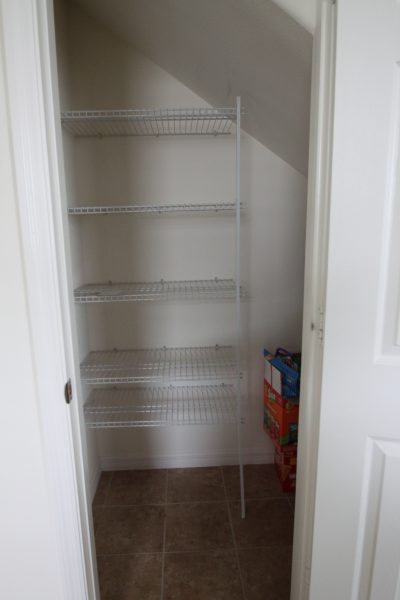
This is our old pantry, check out the rut that it was in. The shelves were 18 inches and appear to be a bottomless pit. Absolutely no organization, and if you know me well enough you know this is a problem. As you know we have a little one, a little one that eats now. I do not even have the space for her baby foods and snacks. Primarily I make about 75% of her food (so one of our freezer shelves is dedicated to her) but I still buy some fruits and vegetable meals that are easy for on the go. Since she has been eating we have had to keep all her baby food jars in her closet because there was simply no room.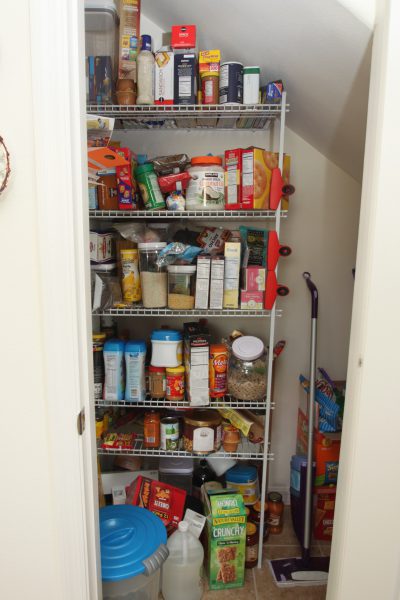 Supplies:
- Plywood
- Kreg DIY Project Kit
- Shelf pin jig
- pocket hole jig
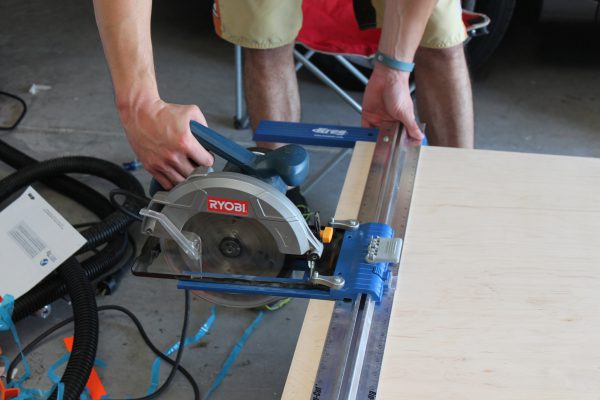
- Ripcut - circular saw guide
- Kreg 90 degree corner clamp
- Kreg Face Clamp
- Kreg Right Angle Clamp
- Shelf pins
- Kreg 1 1/4″ pocket hole screws
- Circular saw (Our saw of choice is The Ryobi)
- Miter saw (Our saw of choice is The Dewalt)
- Drill (hubby prefers cordless)
- Primer
- Paint brush for trim painting
- Semi-Gloss (white)
- Paint roller (small)
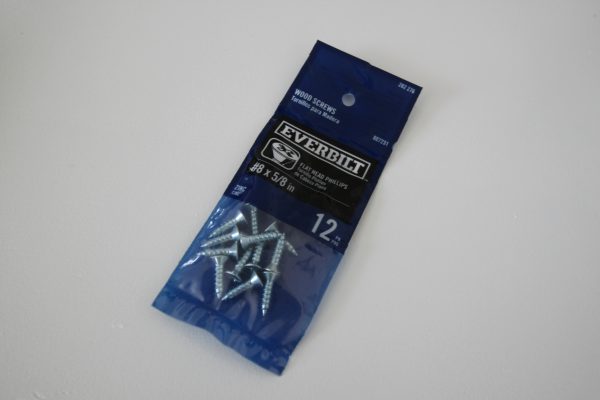
- 2-1/2 in flat head screws (mounting cabinet)
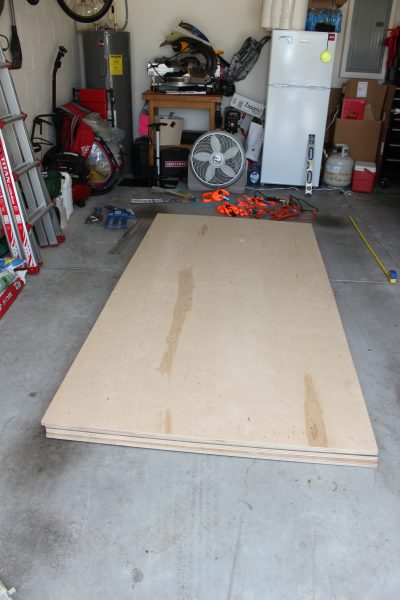
We purchased 4 sheets of plywood. Before purchasing we had to have a game plan set on how to get them home. Of course you have to always expect your plan to not carry out the way you would like. We planned on renting a truck to bring the wood home. Well, apparently this particular Lowe's does not have the luxury of truck rentals (we even asked customer service where we go to rent the truck and they sent us to the loading dock area where we could rent. Talk about communication issues.) Thankfully my smart husband had moving blankets in his car. We were able to successfully load the boards on top of our car and drive safely home. It was quite the adventure.
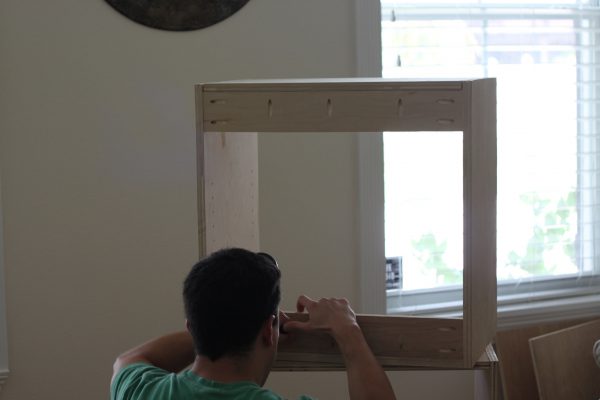
Our plan was to first make some garage shelving cubes (I call them cubes because that is exactly what they are- you will see later.) This would be good practice and hopefully give us enough experience so that the pantry cubes would come out better (learning from mistakes along the way.) Plus, who does need more cabinetry in the garage?
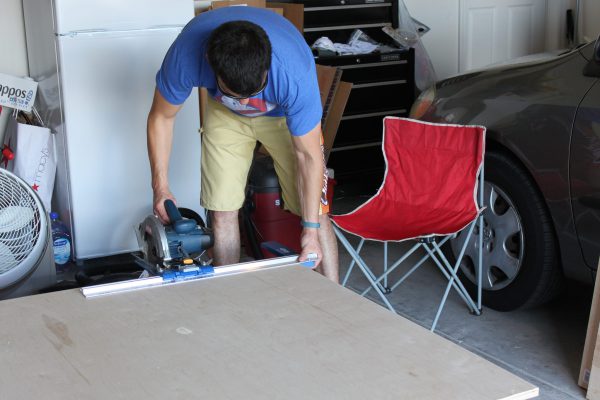
My husband did all the sawing, measuring and construction. Like I said I had about 20% part in the project, which entailed painting. It was crucial that the painting came out perfect especially if my husbands construction turned out really nice. The painting can seriously make or break this project, so no pressure on me!
First, you start out by measuring the wood, you need exact measurements in order for your piece to sit flush on the floor. We noticed the slightest bit it was off, it would cause the whole piece to become un-level. So obtaining the exact measurements from the instructions was a very important key element in the overall construction.
Once you measure and your pencil lines are drawn, its time to break out the saw and start cutting. My husband started by cutting wood for only one cabinet at a time.
 The instructions for the assembly of the cabinet came with the Kreg DIY Project kit. Unfortunately, the instructions are copywritten and I am unable to share them.
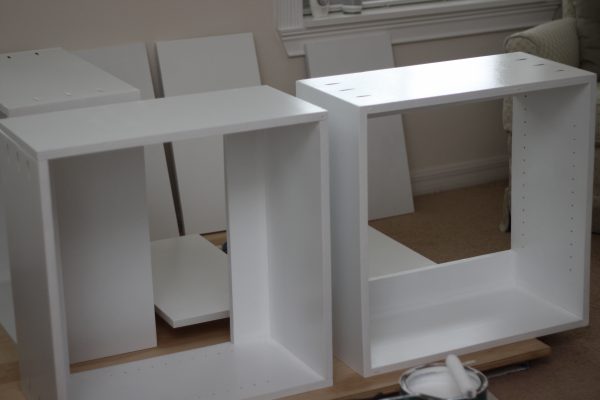
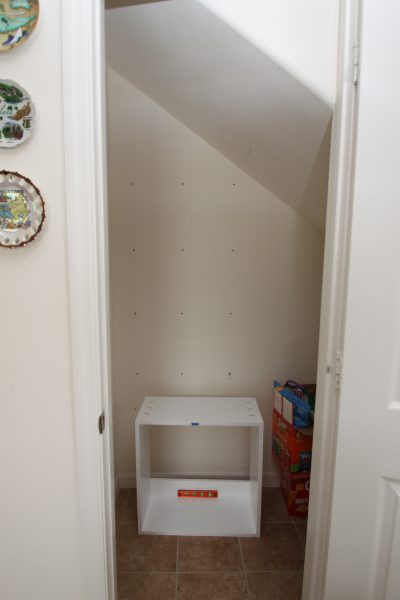
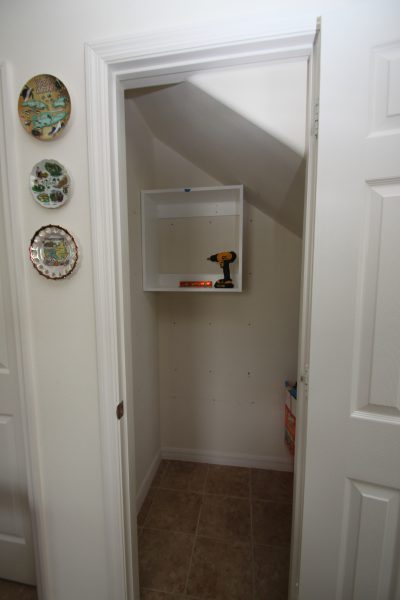
These cabinets are cubed shaped, the kit comes with different ways that you can setup your own cube and personalize it to your own needs. If you just want the cube you can just use the cube, if you want the cube with a few shelves you can make the cube and a few extra shelves.
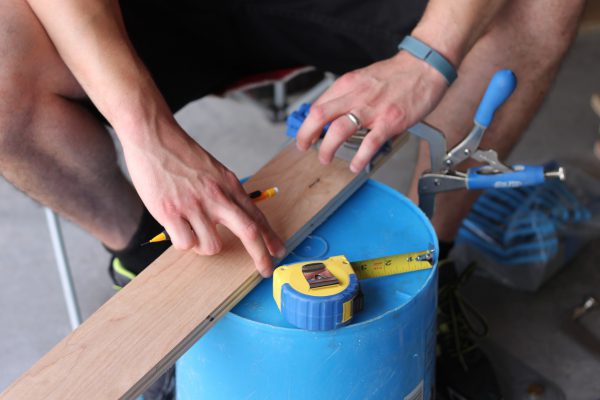
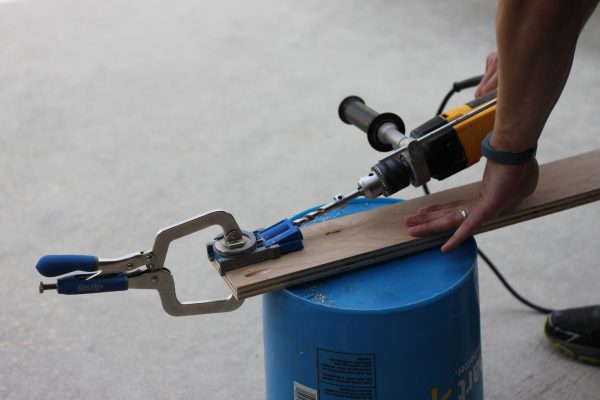
Next step was the drilling the pocket holes for the screws. Pocket holes are a necessary element you can read about them here if you are unfamiliar. The pocket hole tools came with the project kit.
 The first cabinet came out really crooked the first time my hubby assembled it. He then purchased the 90 degree corner clamp, and that made the cabinet come together much better.
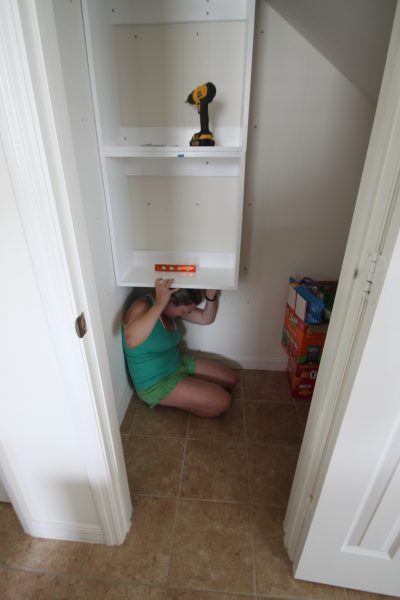
 This is where my help was needed, my husband clamped the cabinet and I helped keep the cabinet level with the ground. The instructions tell you to cut one mounting rail (this is the piece you see with the 7 pocket holes in it), but my husband and I thought it would be a good idea to make another one as added support to the structure of the cabinet AND more support when attaching it to the wall. It was good decision and worked out better for us in the end. Especially when mounting it to the wall. Your studs never line up the way you would like, so being that we had this extra mounting rail we were not limited on where we could drill holes for the screws.
 Painting
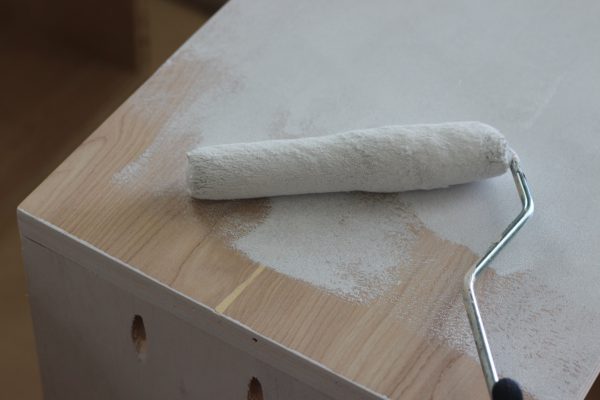
Now it is my turn to add my touch of creativity to the project...let the painting begin! At first I was like "I got this." I have painted many times and many different things, how could it be any different? Well it was. I started out by priming all the cabinets and shelving. I used a paint brush and I gave the cabinets one coat. I was not happy with it, it looked streaky and it just didn't have that professional look (even though it was just the primer that I was seeing.) I thought maybe the Semi gloss (finishing paint) would do the job. So I gave it one coat and it still wasn't right so I gave it another coat.
I still was not 100% happy about the way it turned out, the cabinets had a streaky paint brush feel to it. We thought about using a paint sprayer, but we thought that would be a hassle. You would have to dedicate an area to spray it in and clean up would just be a mess. That is when I thought about using a small paint roller. Remember, we are still working on the cabinets for the garage (our practice cabinets) so its okay that it is not to our liking but of course we want to perfect it from here on out. The paint roller made such a huge difference. You could still see my paint brush streaks but they definitely came out looking better than using just the paint brush.
So if we were to grade our two garage cabinets we would give them an 80%. Some parts of the cabinet were still a little off and the painting was not perfect. After the two garage cabinets were assembled my husband started the 3 cubes that we would need for our pantry. He did such an awesome job this time around, most likely because of the practice he had with the garage ones. Then the painting, so much better, I did not use a paint brush (only to get in areas that I could not reach with a roller.) So if we were to grade our three pantry cabinets we would give them a 95%, there are little things here and there and they are in no way perfect. Heck you cannot even buy something that is 100% perfect. So 95 % is pretty awesome on our part!
Here is a look at the pantry cabinets, all primed and painted with the finishing coat. They were primed twice, and painted with the semi gloss in 2 coats.

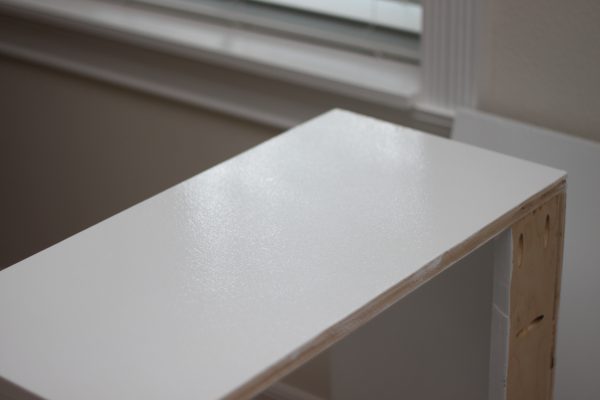
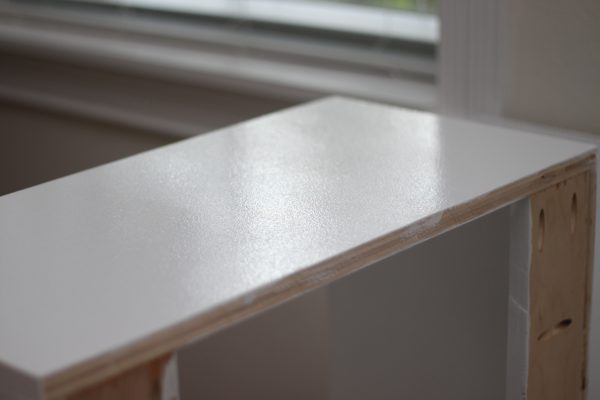 You can see in this picture the slightest bit of texture on the cabinets from the paint roller. We actually like that look, its much better than the streaky paint brush look.
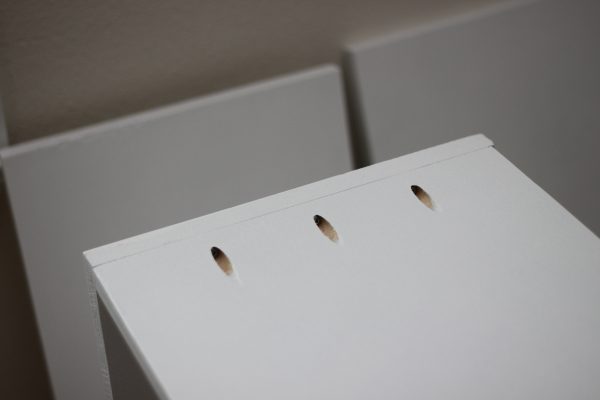
Installing the shelves
For the shelves we used these pins for holding the shelves. Once you get your shelf were you would like it you screw the screw in through the bottom of the shelf (this is to ensure that your shelf does not fall or slide out. It is also good if you have little ones who like to explore, it just baby proofs the house a little more.
Cabinet installation
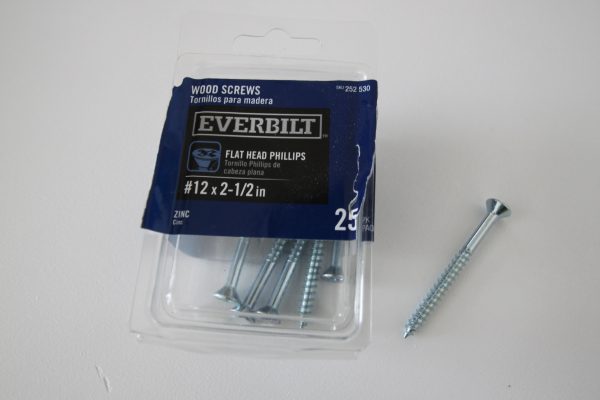
We used these 2-1/2 in flat head screws for mounting the cabinets to the wall.
Now, one last look of the old shelving.
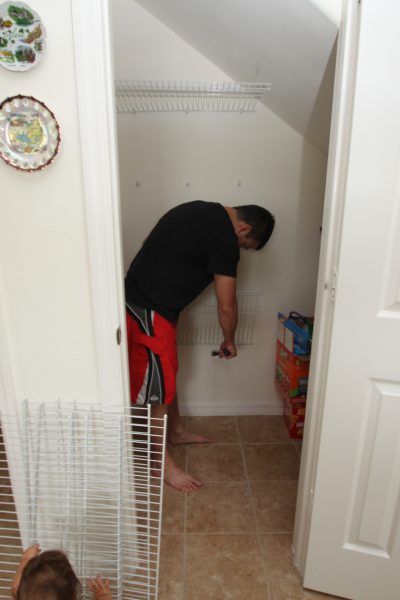
Our little helper woke up from her nap just in time to help out with the transformation.
One cabinet up!
I had to help with getting both cabinets up. I had to be the support that the cabinet puts it weight on while my hubby mounts it to the wall.

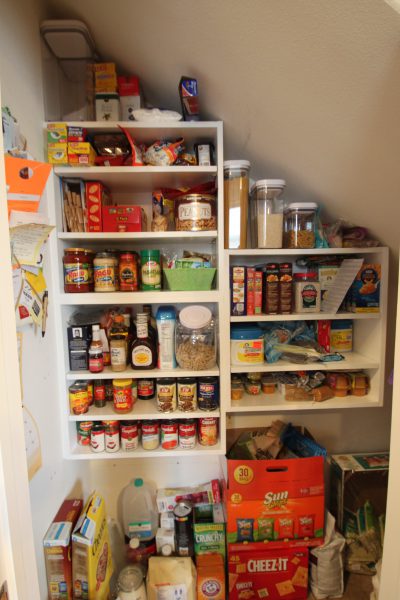
Here is our finished product, our pantry is so organized now! The pantry shelves went from 18 inches deep to 12 inches. We really did not loose that much shelf room, we just expanded on over to the other side. My husband did an amazing job on the construction of them. As you can see we still have some items below that need homes. So we are planning on building another two small cubes to get these items off the ground. Stay tuned for the addition (hopefully within the next two months.)
One last touch my husband added was the caulking. I told him that I do not think that he needs to caulk, it looks great. Oh, what a difference it makes, now the shelving looks like once piece.
So there it is! First big project after baby. We still got it!
Comments