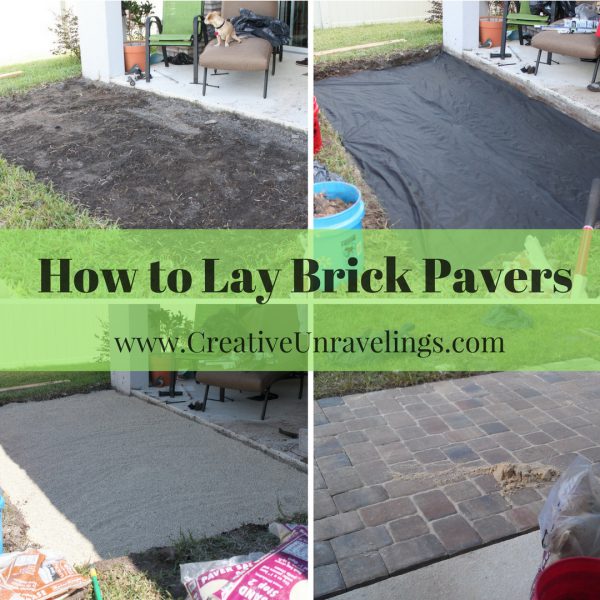
 This was definitely one of our "bigger" projects. We were looking for a way to extend our patio, we came across our neighborhood builder demolishing a parking lot made from pavers. There was a sign that said "Free Pavers" you just had to get them yourselves. So there we were with many other homeowners/workers loading free pavers into our cars. This saved us a lot of money!
We wanted to start it in the cooler weather because its just so hot to tackle something like this during the summer months. We ended up starting it in October and it took about a 2 week process, working on a little bit every day.
Materials Needed:
- Patio Pavers- you need to first figure out the square footage of the area you want to cover. Its a good idea to buy about 5-10% more than what you need, just in case they break.
- Gravel- read the bag to get a better idea of how many square feet it will cover.
- Fine sand- you will need to read the bag to get a better idea of how many square feet it will cover.
- wood stakes
- Shovel
- Tamper
- Measuring tape
- Rubber Mallet
- Weed buster underlayment (make sure you get enough for the square footage)
- Wheelbarrow or wagon (for dirt removal)
- Heavy duty gloves
- Broom
Measure and mark out patio area:
First, measure your patio dimensions and mark them on the ground with stakes at each corner of the plot. Make sure there are no underground lines or irrigation pipes in the pathway. We ran into this problem and ended up hitting the sprinkler line. Luckily, it was something we could fix, but we did have to reroute the sprinkler head a couple of feet out of the way.
Draw a layout of what kind of pattern you would like to use. This will help you determine how many pavers you will need. The hubby did this, he is really good with configuring measurements. He created a computer print out of different layouts and we chose which one we liked the best.
Dig up the ground:
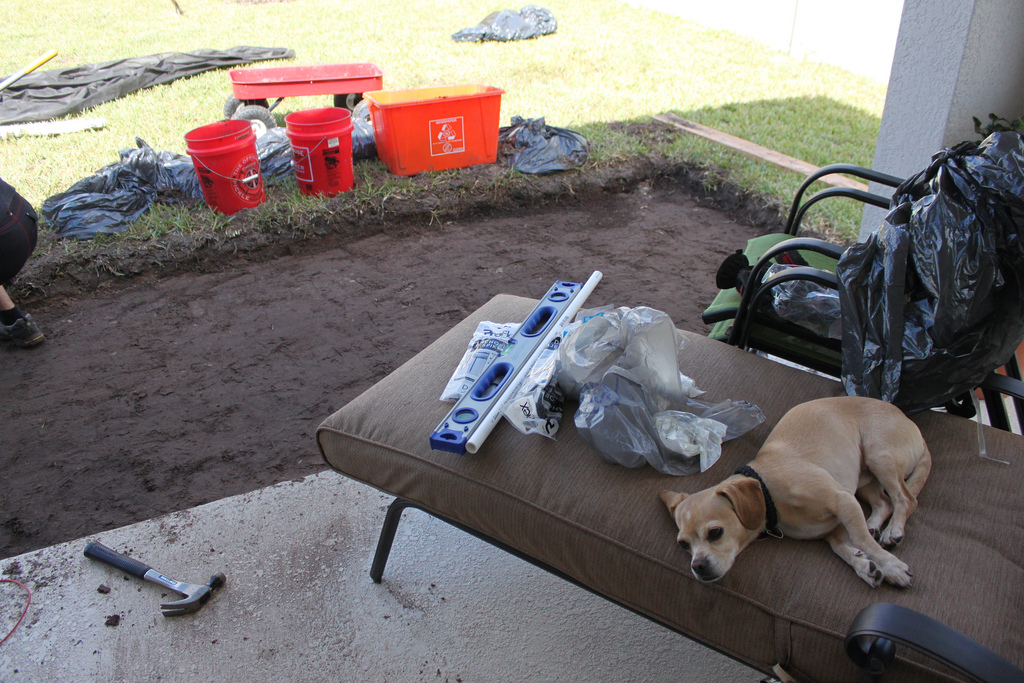
After you have planned and purchased all the materials its now time to start digging. You will need to dig 6-8 inch trench. This is so that you have plenty of room for the layered materials. This was the worst part because we had to remove the sod and dirt and dispose of it, we purchased a wagon to help us out with moving it all to the front yard.
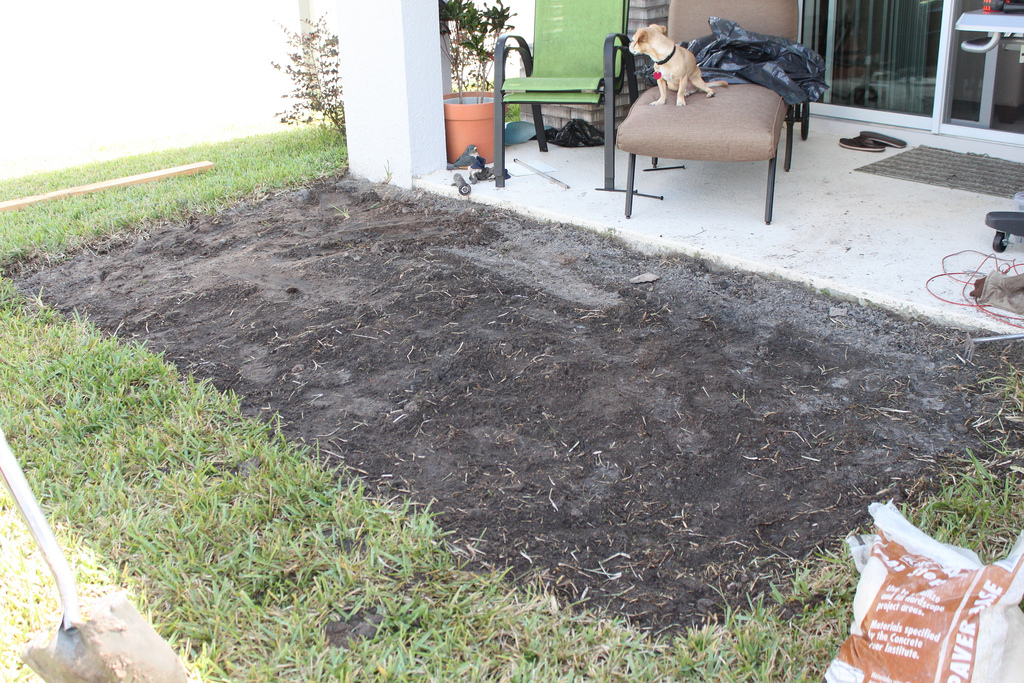 Below is a picture of about 4 inches of dirt dug out...2-3 more inches to go! We put the dog to work and had him digging as well.
 You also want to make sure you plan how the elevation is going to be, we built it so that the patio is slightly slanted downward and as water comes into our porch it will drain onto the patio and flow into the grass.
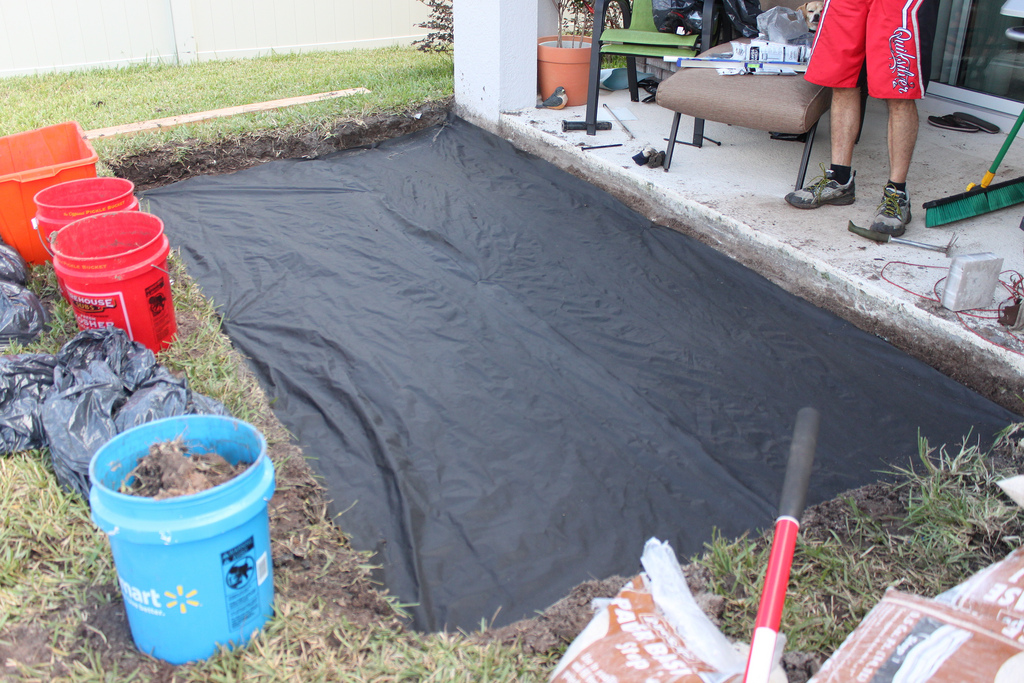
Add weed underlayment:
Next, pull all sod roots and weeds and rake the dirt level. Then lay the pre-cut weed underlayment. This should help with the weeds that will start to grow under your pavers. Stake all corners so that it fits your area perfectly.
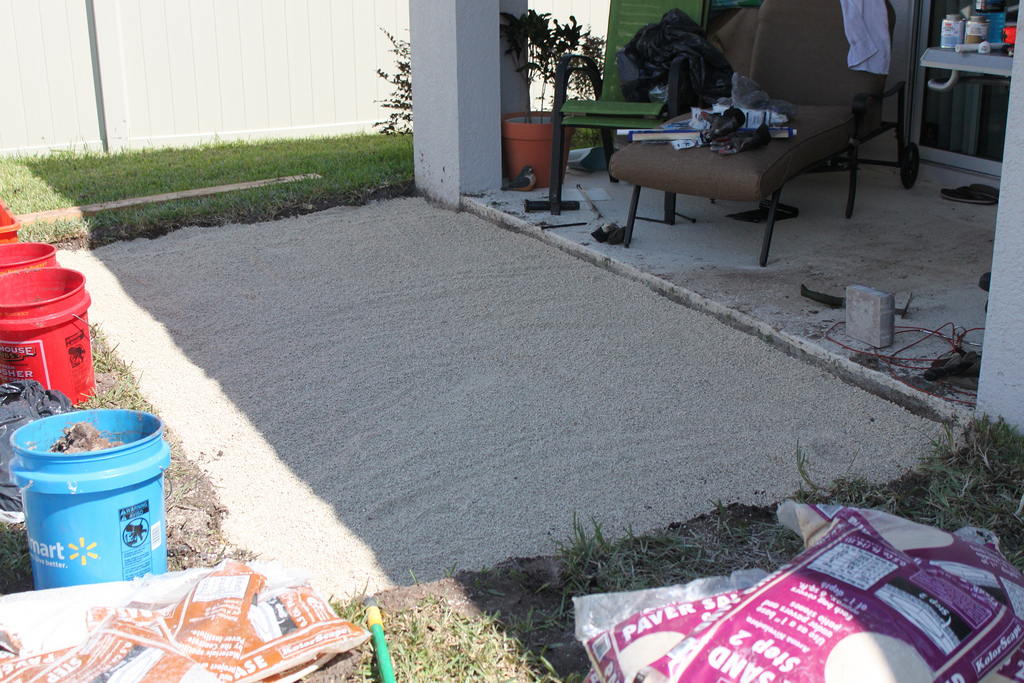
 Add gravel base to the area:
Pour 4-6 inches of gravel into the patio trench and compact it using a tamper or plate compactor. Slope the entire area slightly towards the direction in which you want water to run off the patio pavers. Its a good idea to measure in the corners and center to make sure you keeping everything level.
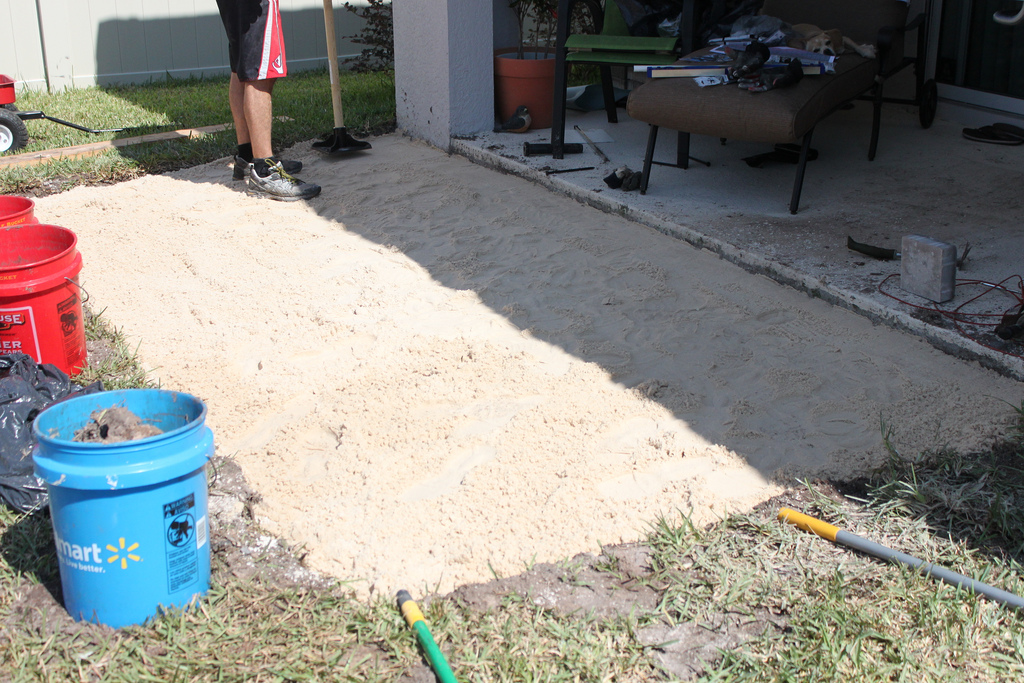
 Add layer of fine sand over gravel and compact it:
The sand layer should be less than 1 inch thick and follow the same grade as the gravel, this is the last layer before installing the pavers so its important to make sure the its smooth.
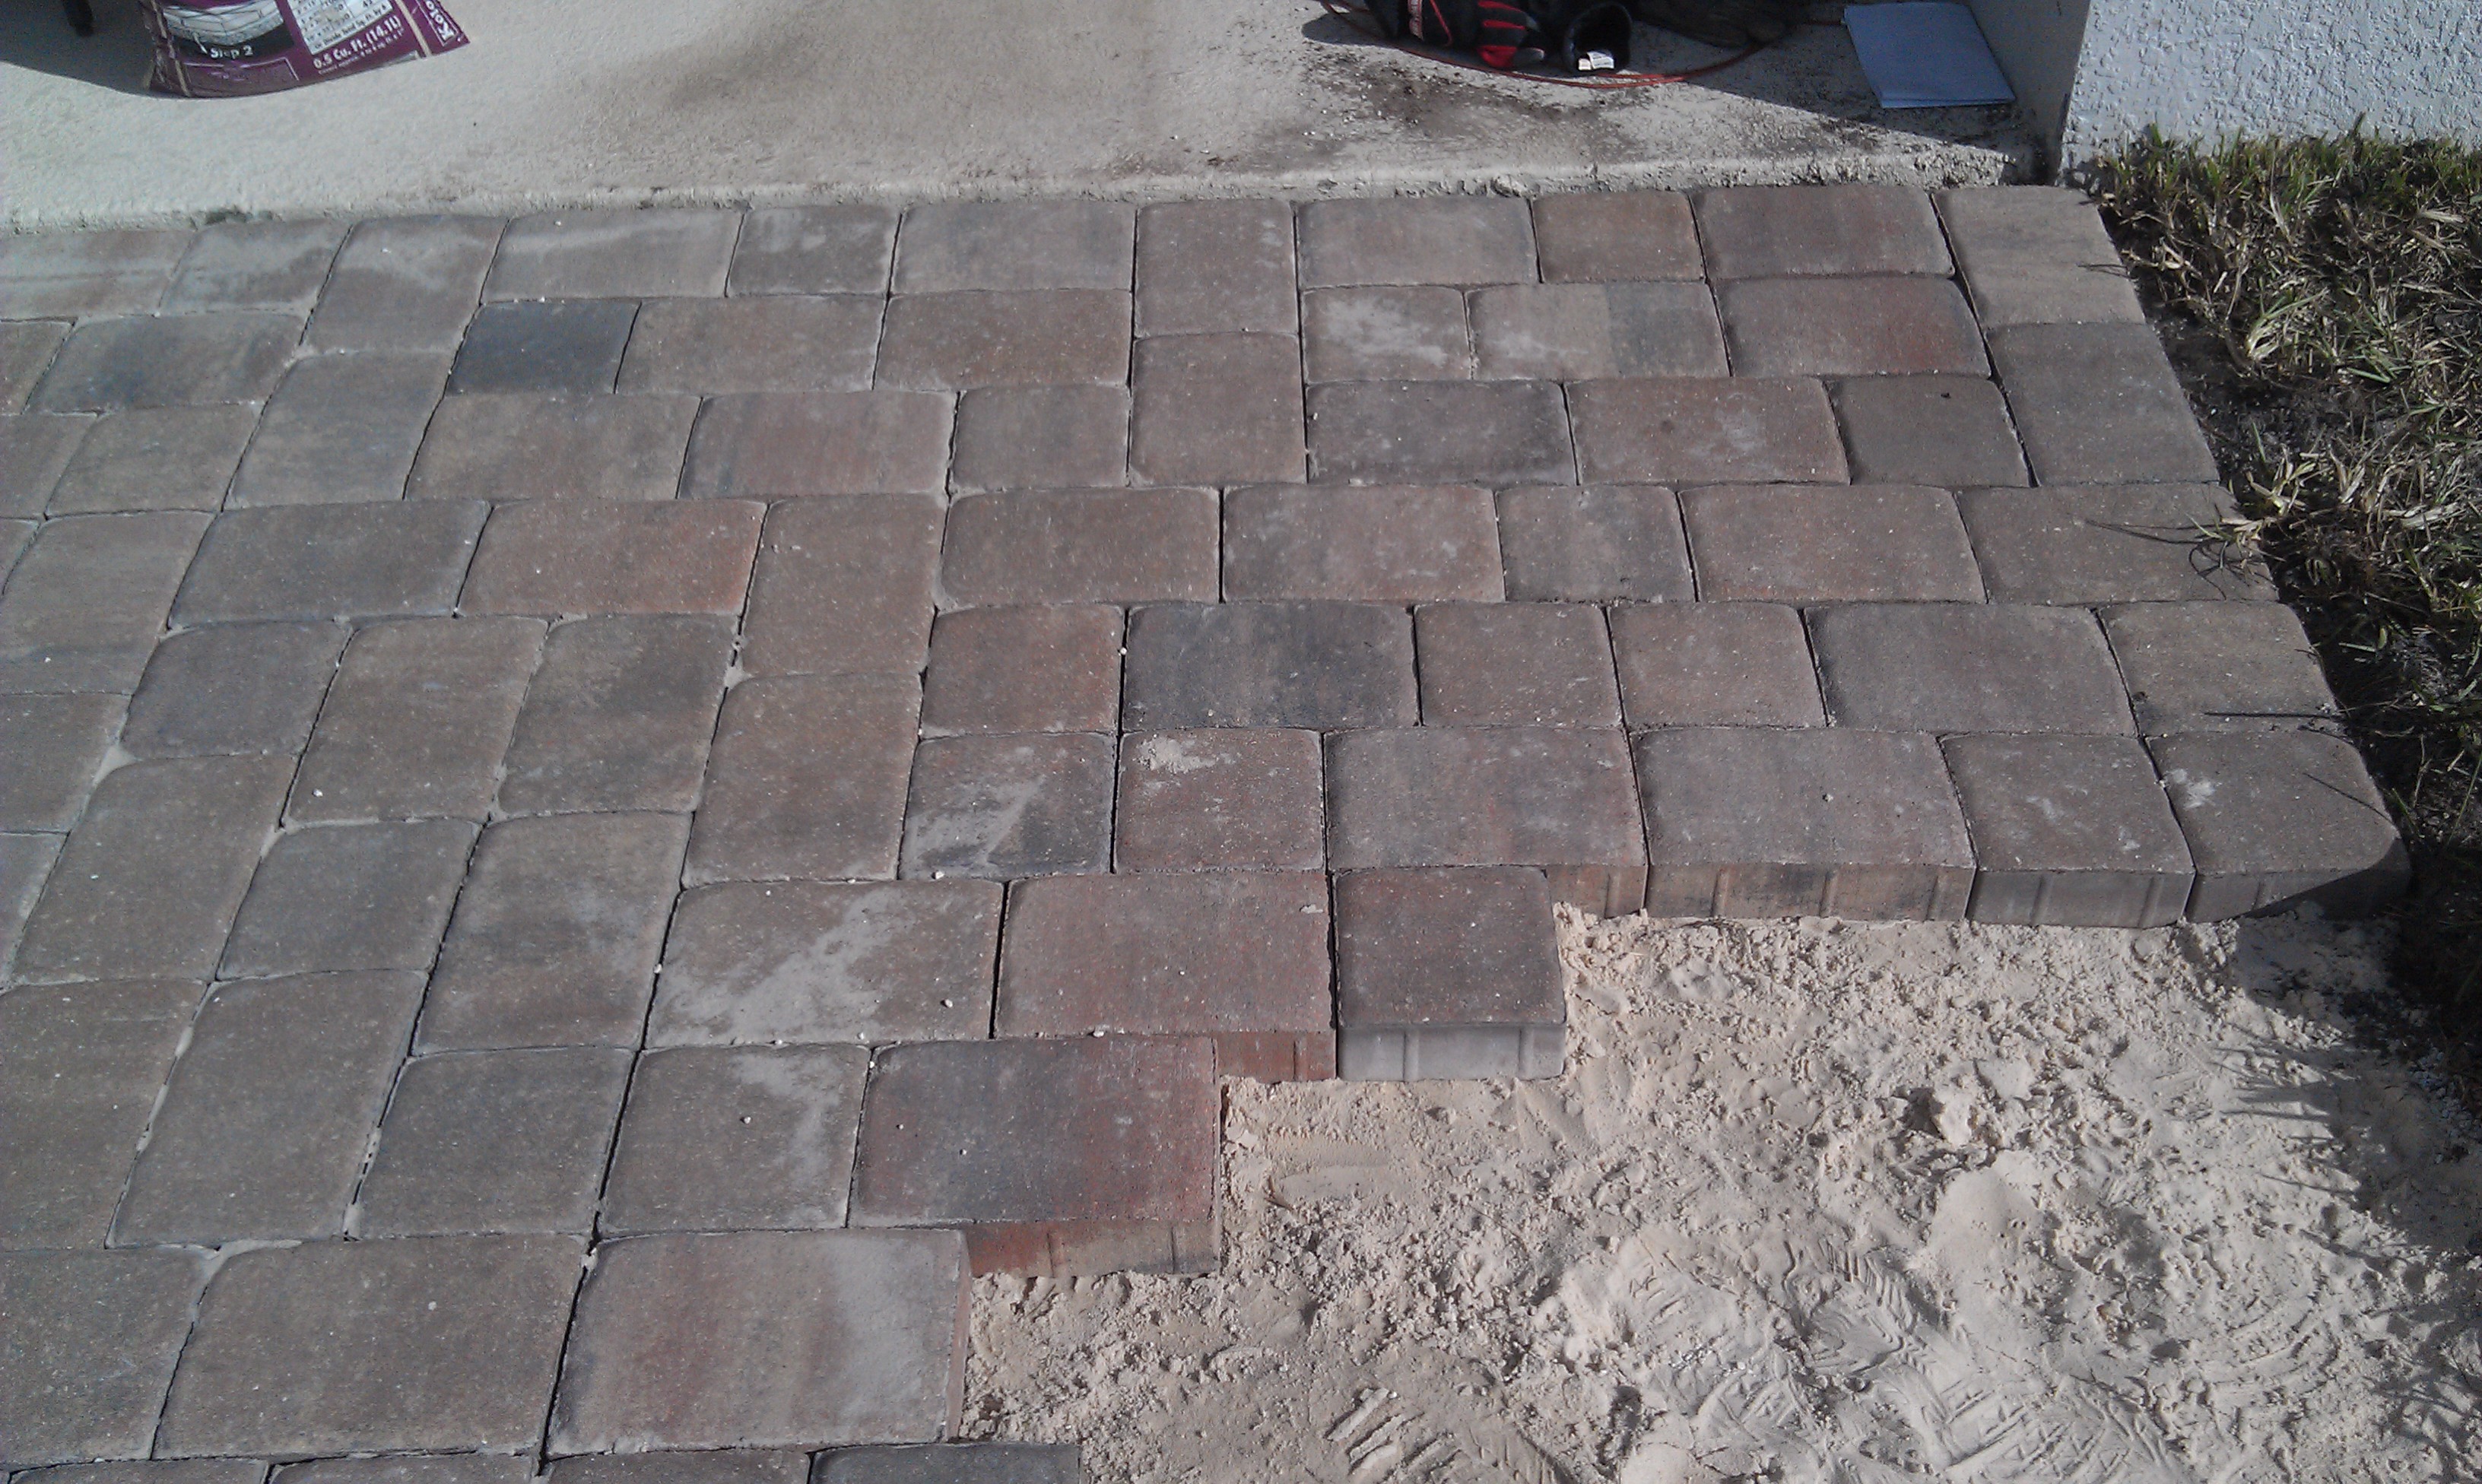
 Lay pavers down in desired pattern:
Now comes the fun part! Its smart to have a pattern to follow before you actually start laying down the pavers. As you start laying the pavers down, you can use a rubber mallet to help get the pavers to align with eachother.
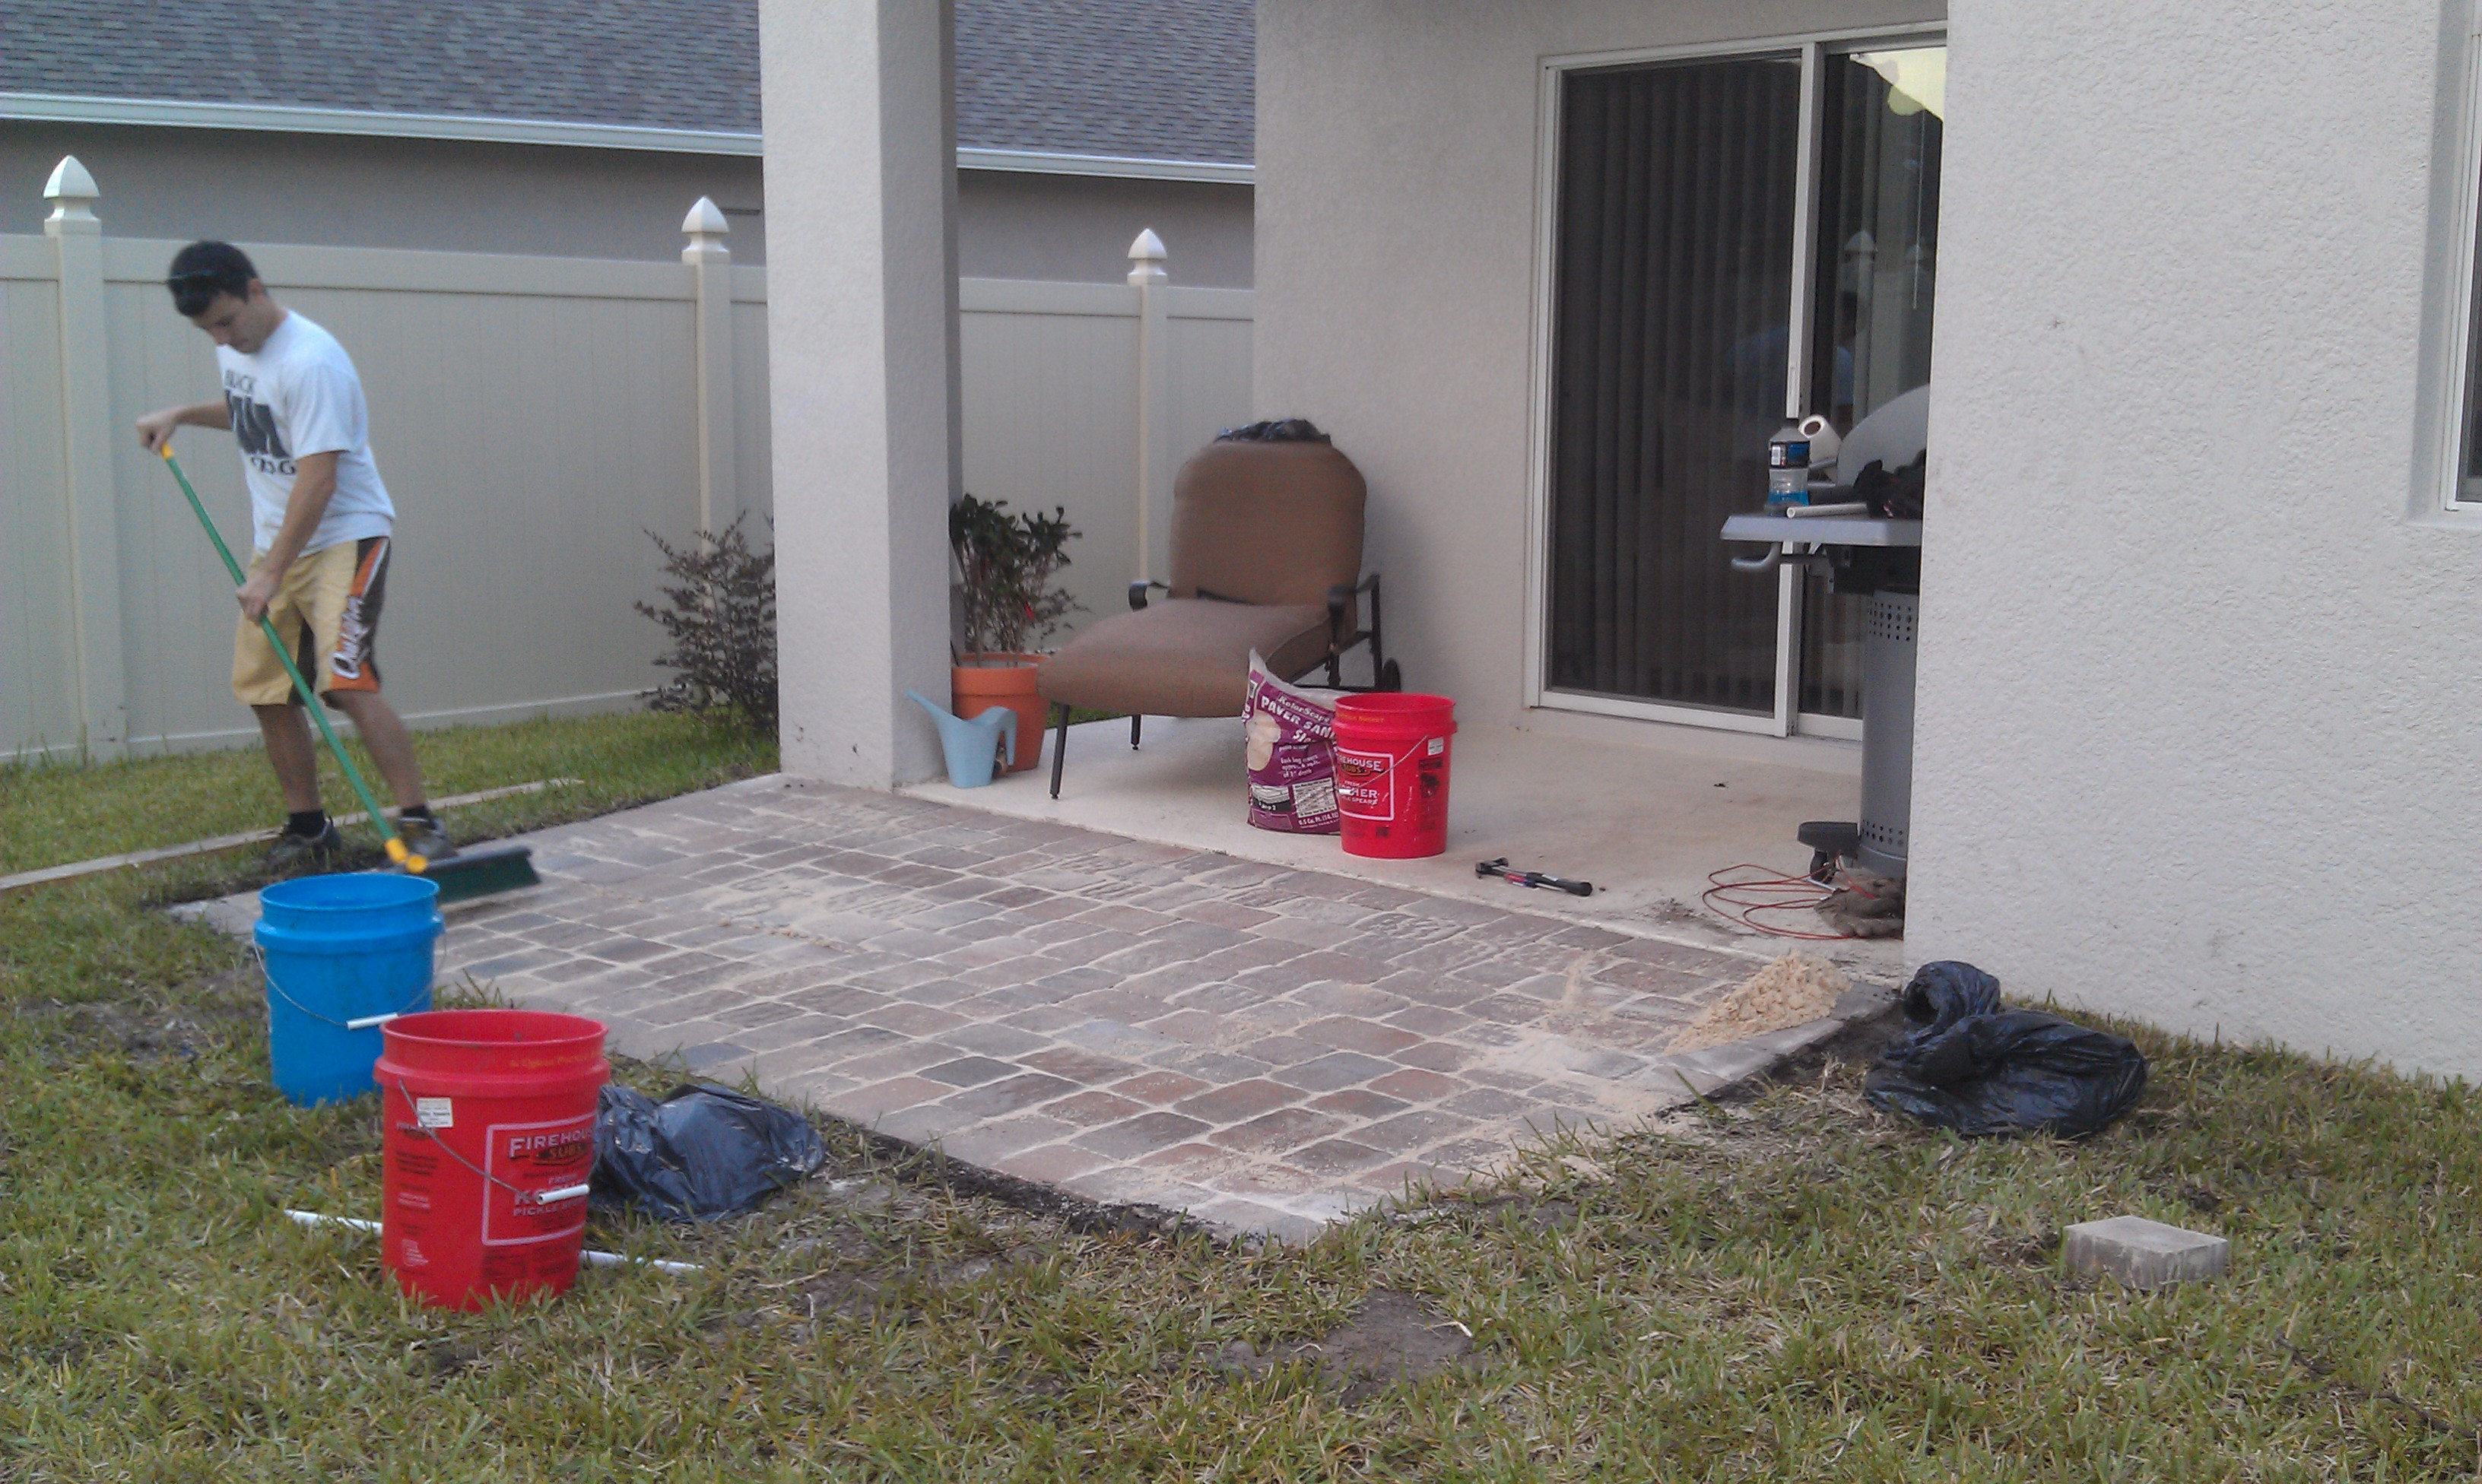
 Fill in cracks with sand:
Cover the entire paved patio with the same fine sand you used to make the base. Use a broom to sweep the sand back and forth until it fills all the spaces between the pavers.
 Total cost of project: Less than $400.00 (based on the fact we saved a huge chunk of change on the free pavers.
Comments12
Thanks for this. My husband and I are doing a patio project and this was sooo helpful!
I am so glad my post was helpful! Good luck on your patio! On a side note, I thought the underlayment would help with the weeds and it did not. So we have to pull the weeds and treat with a weed killer to try and help prevent them.
Thanks for stopping by!
This was very helpful. Now if only I could find some free pavers. Because my patio extension needs to be bigger that that. And it's so so hot out & my husband is on the road most of the time & I can't get my sister or my daughter to help with yard work. But this was indeed helpful. Thanks!
Angella, I am so glad that you found this post to be helpful. Yes, the free pavers definitely saved us a nice chunk of change. Hopefully you can find some time to this (maybe in the cooler months) and hopefully you get some help. It is a lot of work. Thank you for stopping by!
What were your patio dimensions? Trying to estimate cost and labor for my own.
Hi Libbi, our patio dimensions are roughly 146 x 72 inches. Let me know if you have any other questions! Good luck!
Well, it's back to the home improvement store to buy more supplies. I thought an inch of gravel base sand would be enough. I am doing this project by myself and so far the Florida sun & rain are slowing me down but I shall persevere.
Judie, the gravel can be a bit deceiving (as to how much you will need). We thought the same thing when we dug out the patch that we needed. I hope your patio project is going well, this heat is for the birds!
Hi ,
I came across this article at the right time .. We are planning to do something like this to our 10*20 under the deck patio . And we are first time home owner with zero DIY experience.
Thanks for listing the things needed . Big help .. will ask more questions once we get started with this project..
Thanks !!
Manjari
Hi Manjari, Good luck to you on your first DIY project! Honestly, the project is not too bad, it was technically one of our top 5 first time DIY projects. My suggestion would be do it when the weather is nice AND maybe do some research on what else you can put down to prevent weeds from coming through. The weeds on our patio are pretty bad. I thought the weed underlayment would be good enough but it is not. Ask for a recommended product from your local home improvement store. Let me know if you have any questions! I hope your first DIY project goes well!
I have seen on garden sites that you can put pieces of cardboard or several layers (10 or more) of black print newspaper down. Make sure to wet the news paper layers so they don't blow away (do not use colored flyers or magazine pages). Then lay your landscape fabric down on top of that. From there continue with the rest of your project. As the cardboard or newspaper break down (which takes along time) it will kill any weeds that may still be in the dirt. I was at a friends place that put in patio blocks and used sand in between them and she had a problem with ants tunneling through the sand and building ant hills under the blocks. I have heard of a type of sand that once you have it all swept inbetween the cracks you spray it with water and it hardens. It might be a better choice to keep ants out and any weeds that may be blown in and land on your patio. Hope this helps. Good tutorial though. Thanks for sharing.
Bernice, Thank you so much for the helpful tips for keeping weeds and unwanted pests away. I wish I had known that prior to laying the pavers down. I am constantly spraying round up to kill the weeds on a month to month basis.